Your cart is currently empty!

Creating an editable PDF in Canva is a simple yet powerful way to design interactive documents, such as forms, worksheets, or templates. Here’s a quick guide on how to do it:
Step 1: Set Up Your Canva Document
Start by opening Canva and creating a new document. Choose the dimensions that suit your needs, such as A4 or US Letter size if you’re designing a standard document.
Step 2: Design Your PDF
Now, design your PDF using Canva’s wide range of tools. Add text, images, shapes, and any other elements you need.
Step 3: Add Text Boxes for Editable Fields
To make certain parts of your PDF editable, add text and text boxes where you want the user to input information. You can do this by:
- Selecting the “Text” tool from the sidebar.
- Adding a text box and placing it where you want the editable field to be
Adjust the size and font of the text box to match your design.
These text boxes will be the areas that users can edit when they open the PDF in a (Adobe) PDF reader.
Step 4: Download Your PDF
Once your design is complete and you’ve added all the necessary text boxes, it’s time to download your file:
- Click the “Share” button in the top right corner of the Canva interface.
- Select “Download” from the dropdown menu.
- Choose “PDF Standard” or “PDF Print” as the file type.
- Ensure that “Flatten PDF” is not checked, so the text boxes remain editable.
- Click “Download.”
Step 5: Test Your Editable PDF
Before sharing your PDF, open it in a PDF reader (like Adobe Acrobat) to ensure that the text boxes are editable and that everything works as expected.
You can also directly share your design with your collaborator in Canva.
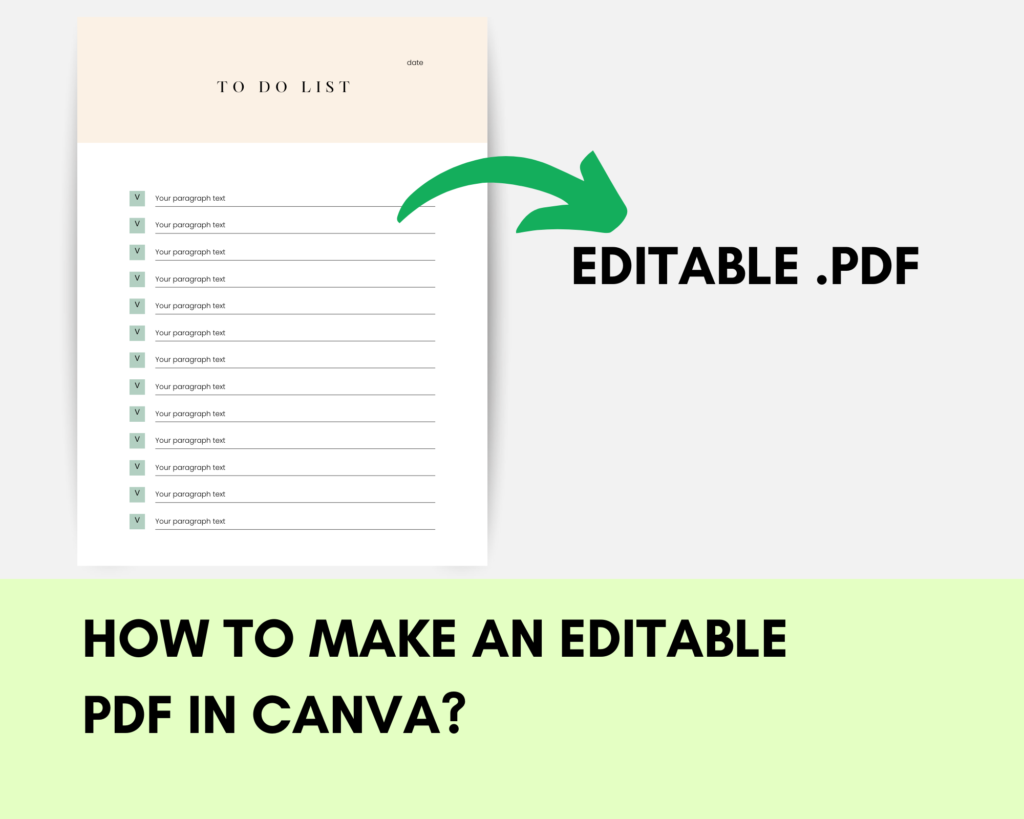
Download your free exemplary To Do List here
https://www.canva.com/design/DAGQQ3VrlPk/tH3rAhqwvzi84YcAH8vAcg/view?utm_content=DAGQQ3VrlPk&utm_campaign=designshare&utm_medium=link&utm_source=publishsharelink&mode=preview


Leave a Reply